Small spaces can be a big problem (corny, I know. Its my brand). Luckily I have a whole host of helpful tips & design hacks to help you do the following:
Increase physical space by downsizing WITHOUT sacrificing.
Maximize storage space while simultaneously ADDING functionality to your room.
See your small space through the lens of a designer and learn how to increase VISUAL space with some easy design hacks.
Let’s go!
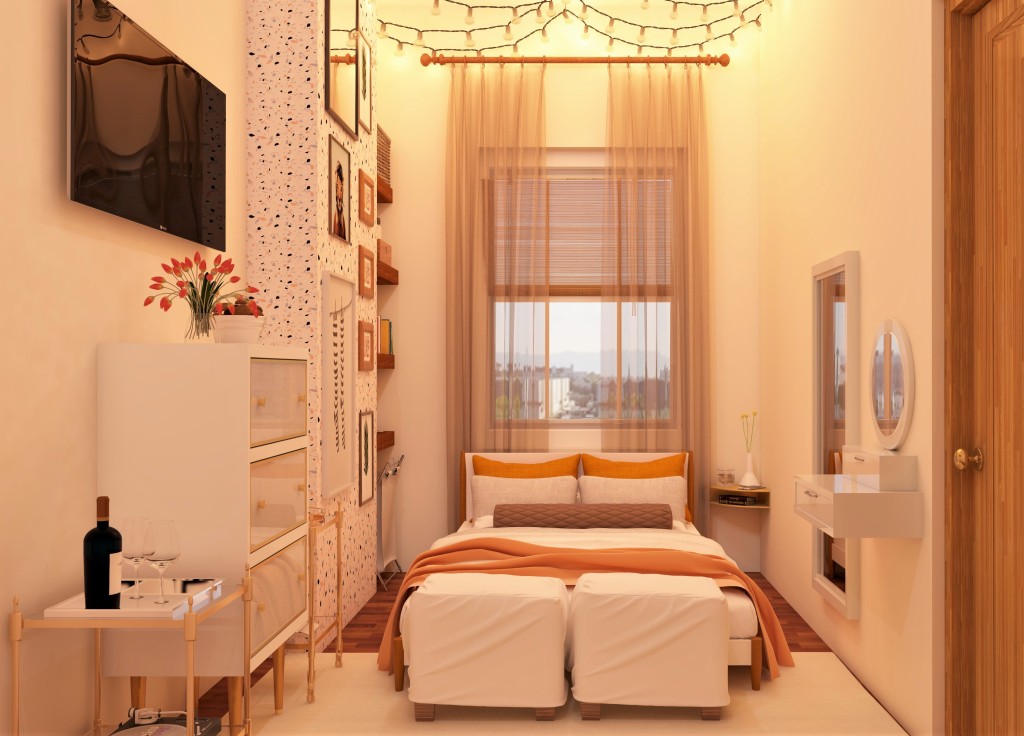
I recently gave a tiny Brooklyn bedroom a major facelift and its the perfect example for this post because we pulled out ALL the stops! First, here are the before photos to give you a sense of where this 8×14 ft room (that included a 3ft deep closet) started.

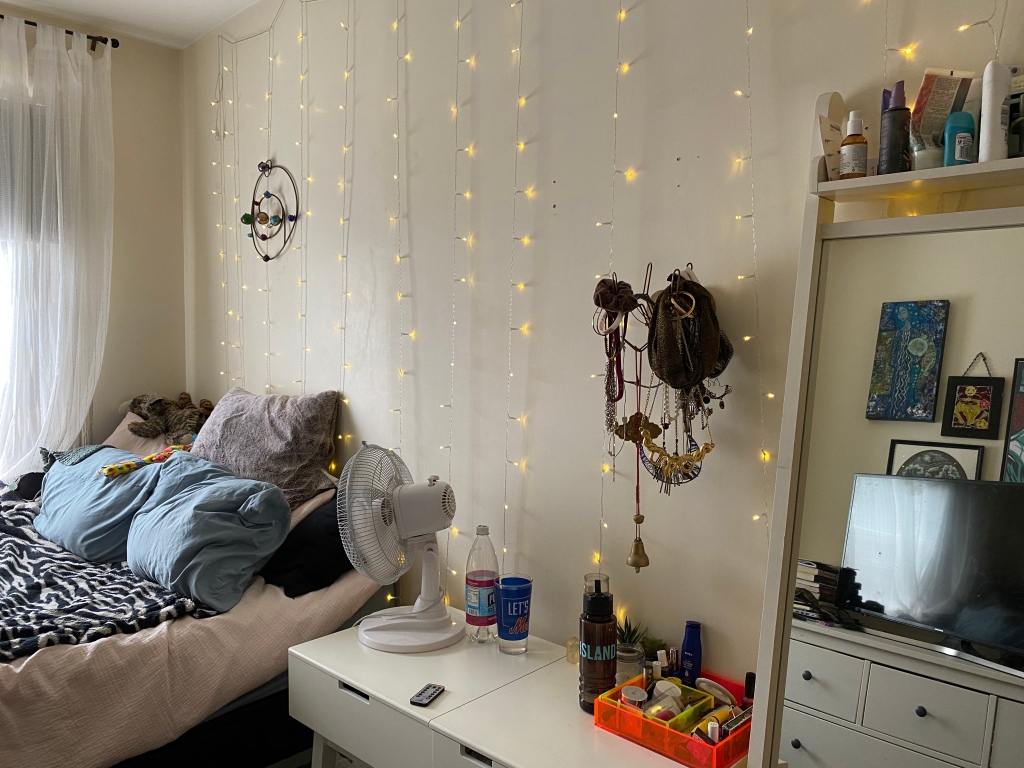
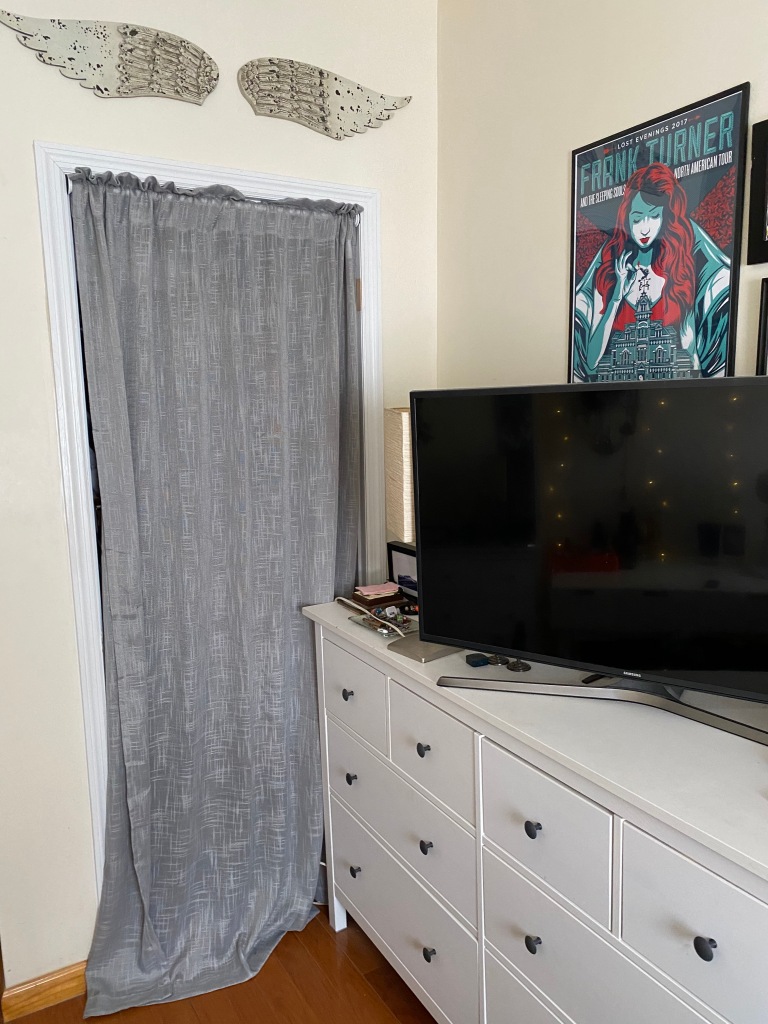

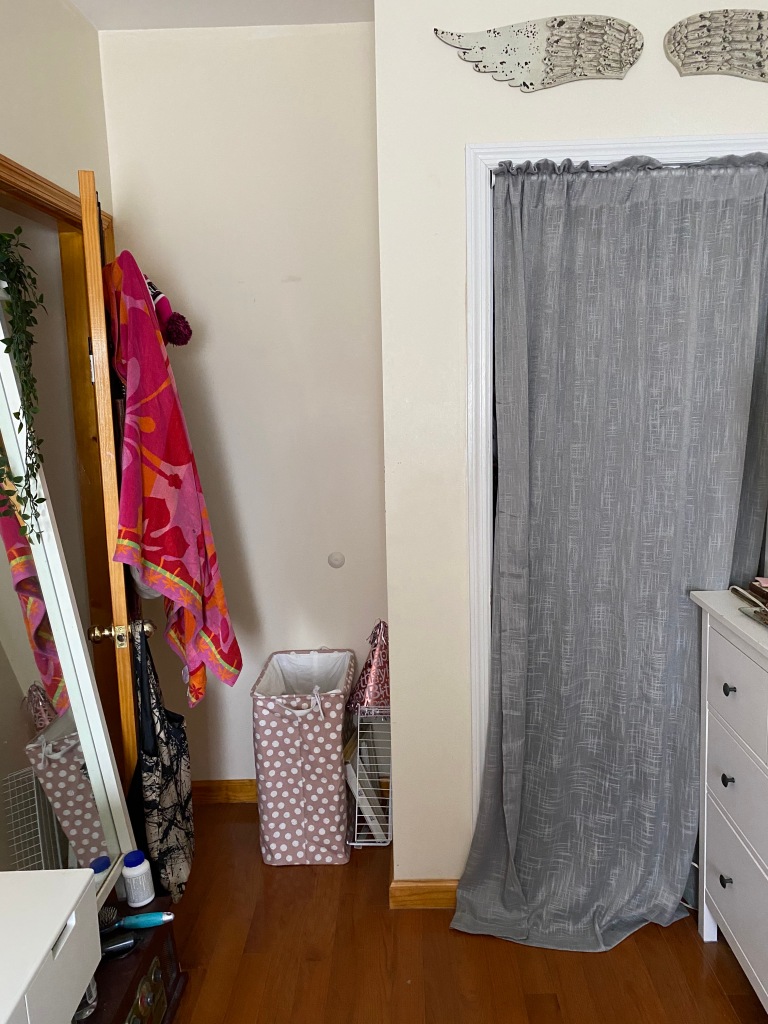
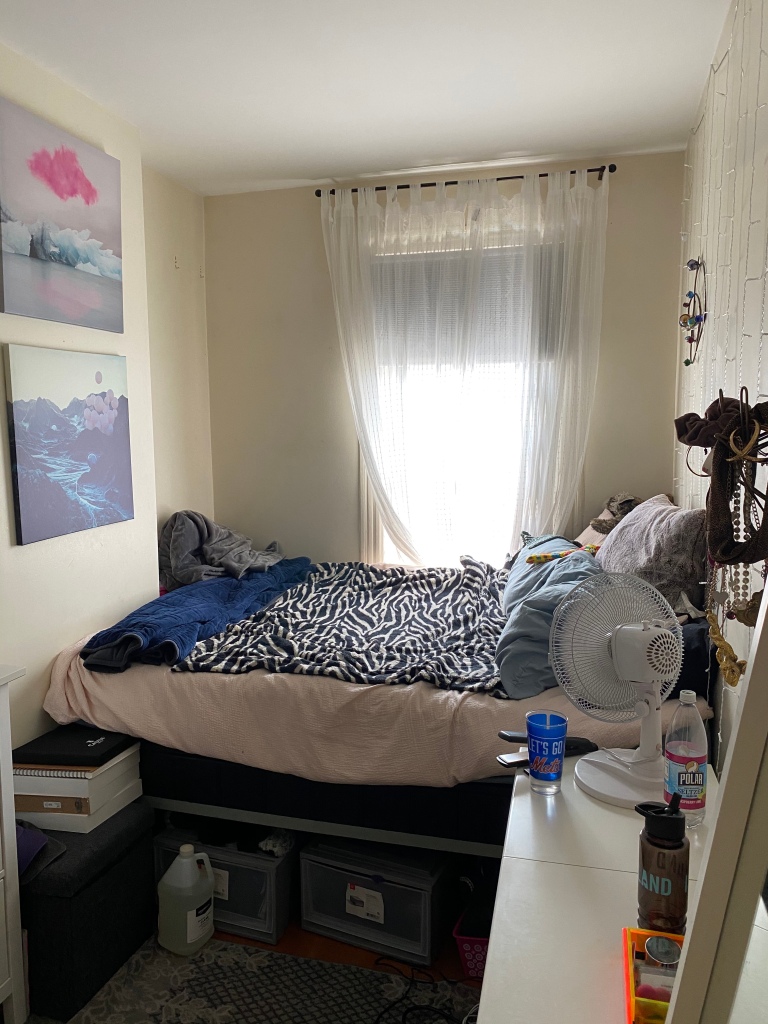
This Millennial shared this apartment with two roommates and wanted to be able to entertain guests in her room without awkwardly ushering them toward her bed to sit side by side (weird way to talk and a little presumptuous!). She also desperately wanted more storage and walking space. I managed to completely update this space and meet all of those needs for a shopping list that totaled about $1,200. The best part? With 3D photorealistic renderings, a full write up explaining all changes & a detailed shopping list, she was free to make these changes at a financial pace that suited her best. And she didn’t just walk away with solutions for her current space, she’s now armored with design intel that she can apply to any new space. Super powers, activated. All right, lets talk specifics.
This bedroom update was completely virtual (thanks COVID) but made easy with my 3D Photorealistic Rendering Software, Foyr Neo. (Not an ad, just the truth). After getting some basic measurements from her I set out to see how much of her existing furniture (which was taken from her much larger childhood bedroom) could stay in the space. The answer? Pretty much nothing. Which brings me to my first solution: Downsizing WITHOUT Sacrificing.
Listen, sometimes size matters and there’s no way around it. In this case, bigger was NOT better. Especially when it came to her Queen sized bed. Downsizing to a Full would allow us to change the orientation of the bed from running horizontally across the room and completely blocking off the window side of the room, to running it parallel with the length of the room in front of the window. After consulting with “Millennial” she agreed that the added walking space of this downsize was well worth the loss of a few inches in bed room (5 inches width-wise and 6 inches length-wise to be exact).


The replacement bed was a very affordable and well reviewed IKEA find that allowed for FOUR slim storage bins (also from IKEA) to slide underneath. In a similar situation?
Make sure your new bedframe has legs tall enough for storage underneath. IKEA has great small space storage bins that are slender and wide. Perfect for under the bed!
Rachel Acevedo
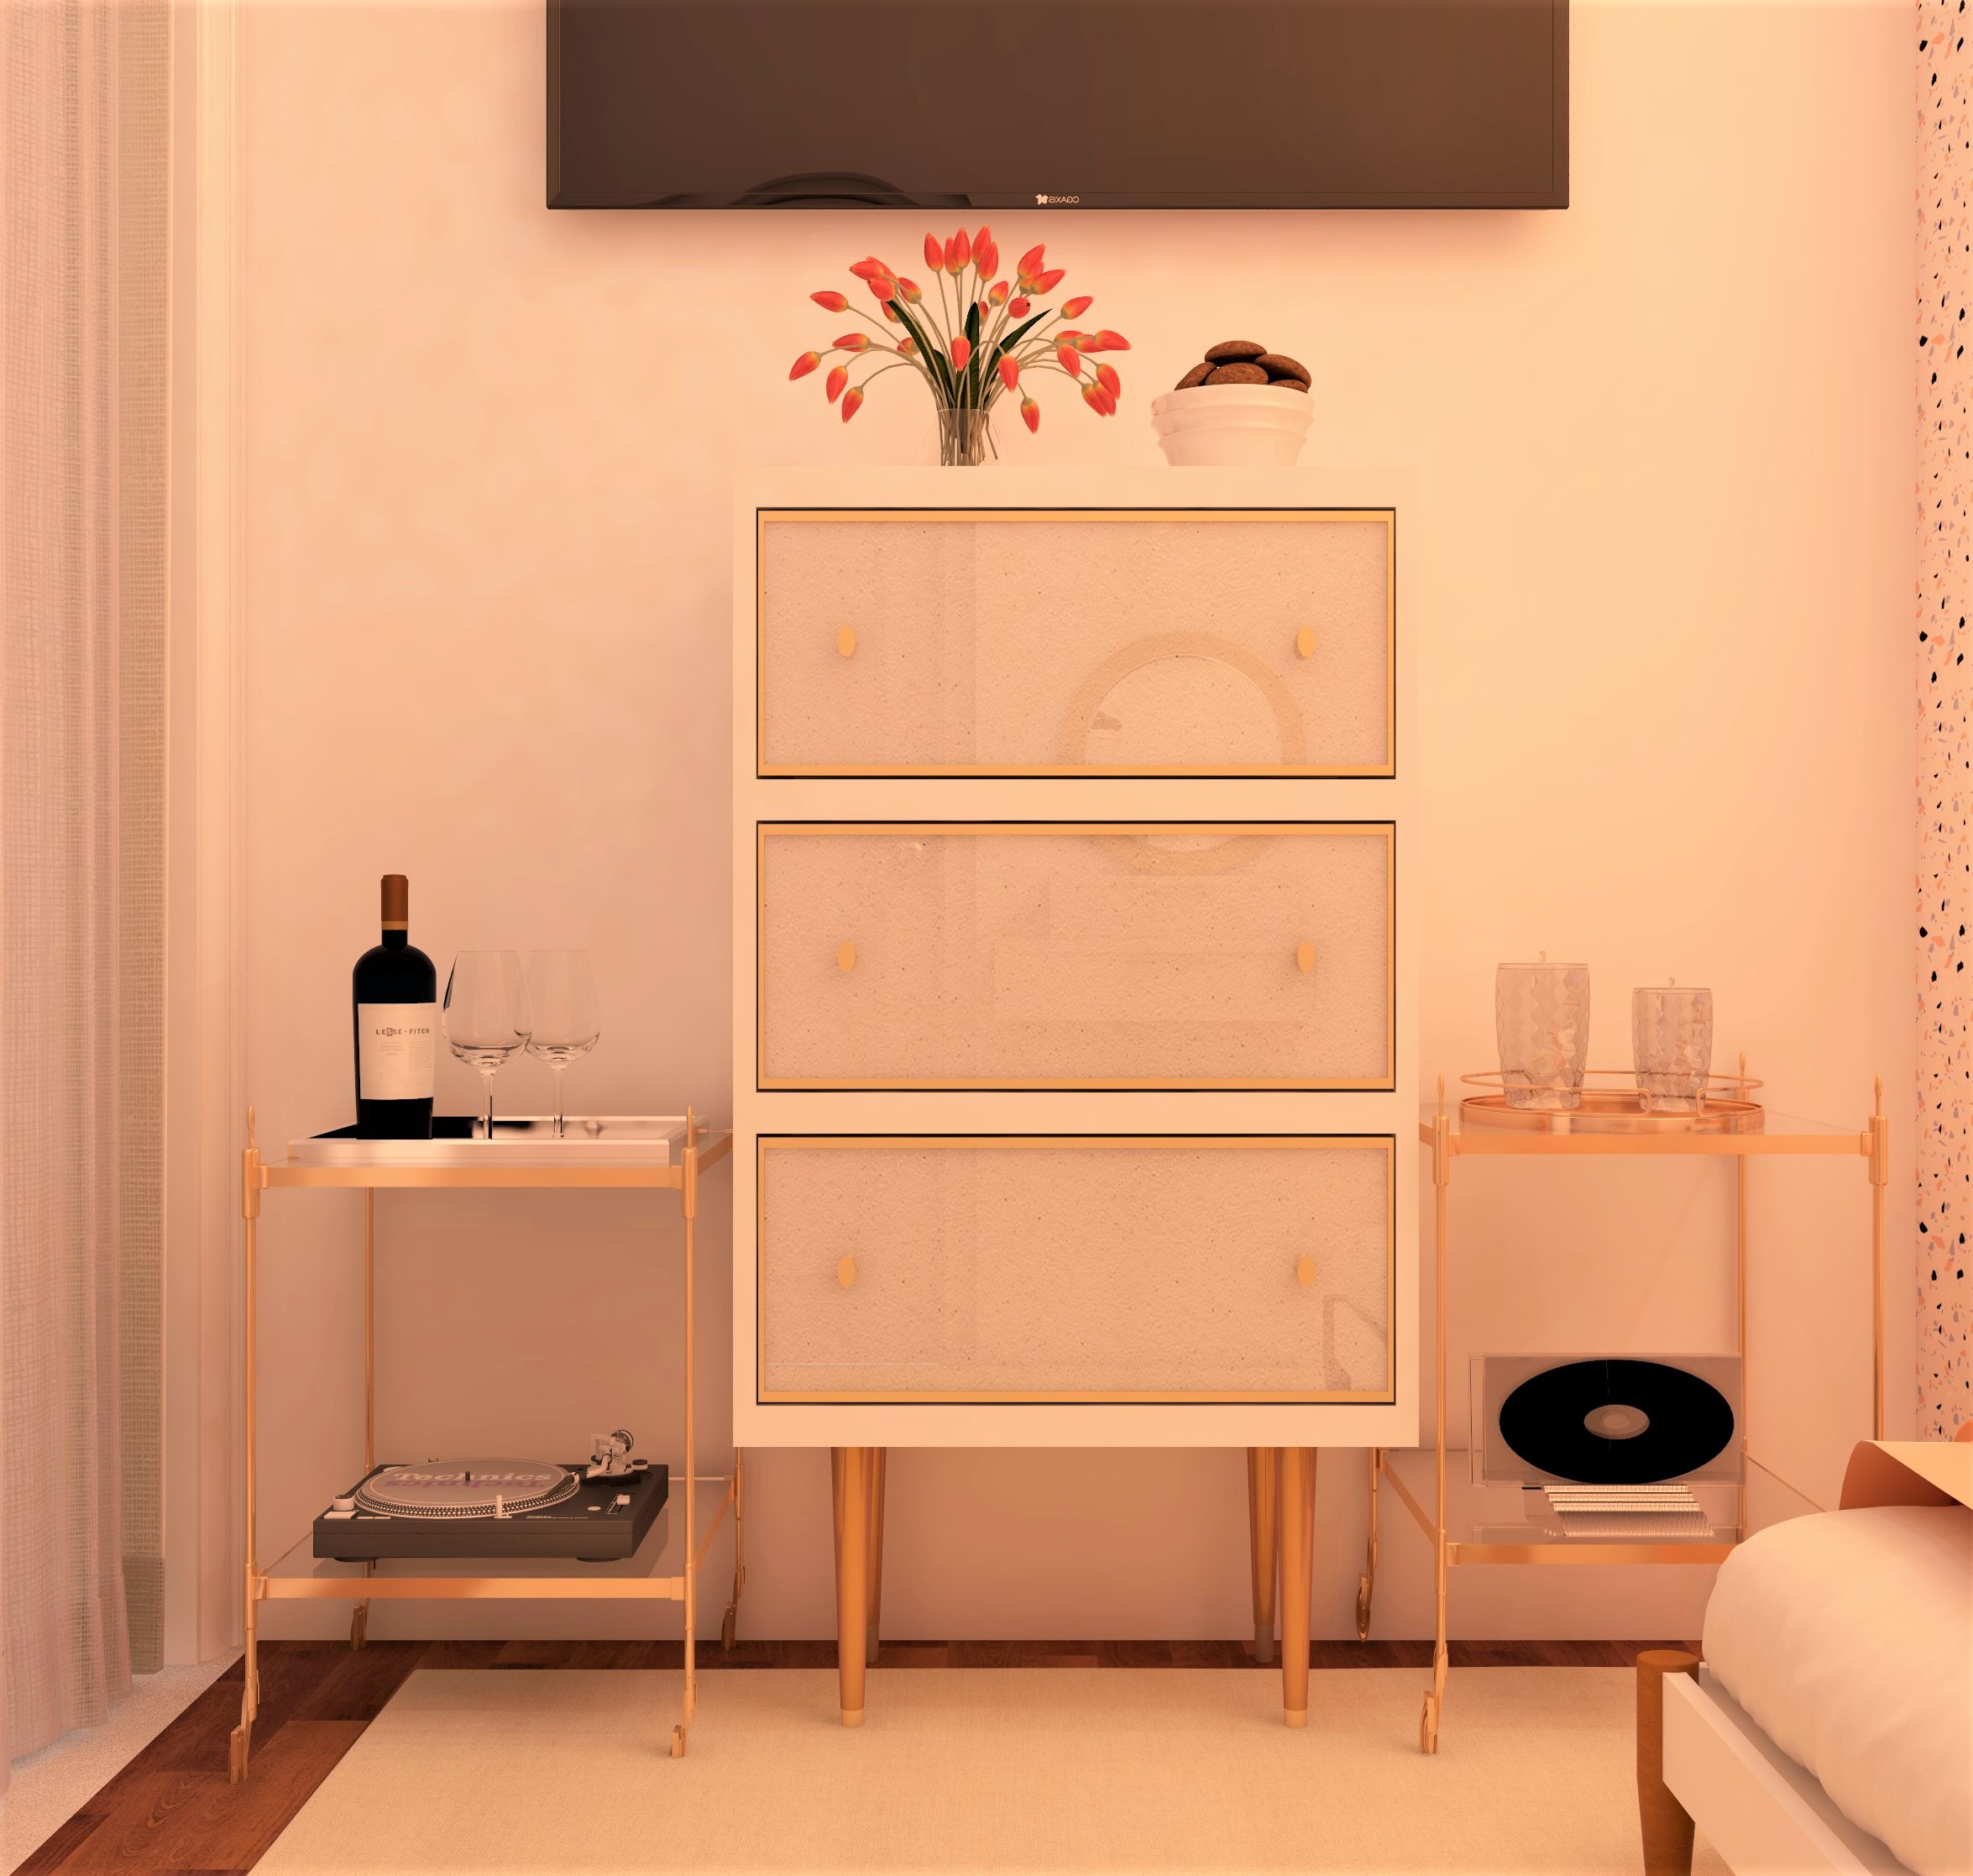
The next two pieces of furniture that needed to go were the MASSIVE dresser taking up oodles of floor space and the desk she used as a vanity.
When floor space is limited, utilize your wall space. Look for furniture pieces that are taller than they are wide.
Rachel Acevedo
This is exactly what we did with the dresser. I found an affordable and super fun dresser from WayFair that ran vertically and provided the same amount of storage as the beast she currently had. The TV was wall mounted. Easy fix. The result was available floor and wall space on either side! Next, I found two small glass end tables from WayFair to place on either side; perfect for her record player, setting down a glass of wine or refreshments while ENTERTAINING. New room who dis?

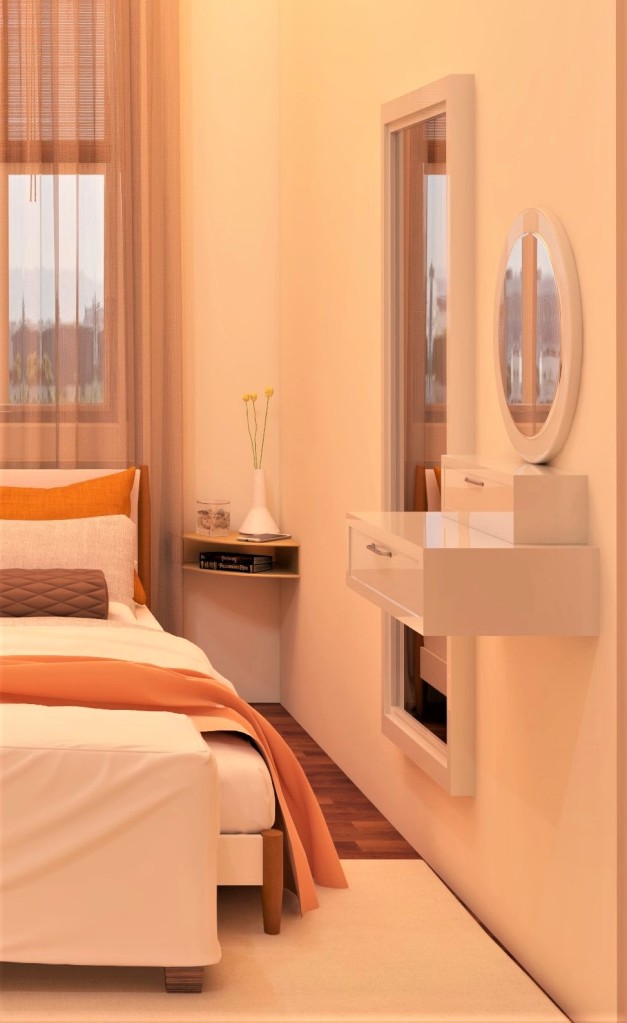
Ok, on to the next space saving tip, FLOATING FURNITURE. In this room, we used a floating vanity and mirror set ($20 on Amazon) to replace the large desk, wall mounted her mirror (bam, it floats), found an inexpensive floating corner shelf which resides to the right of her bed as a makeshift nightstand, and floating shelves on the left side of her bed that fit perfectly in the little nook created by an awkward jutting wall. A single floating shelf also sits at the entrance of her room to create a space to drop keys and mail.
Floating furniture is amazing for small spaces because it utilizes all wall space and no floor space! This increases physical and visual space!
Rachel Acevedo


Next, I added two storage ottomans from WayFair at the foot of her bed to create seating options for guests. The best part? They’re storage ottomans! Bam! Increased storage AND functionality!
When you’re low on space, every furniture piece should serve two functions!
Rachel Acevedo
Ok, let’s talk about the changes we made to increase VISUAL space. What do I mean by this? Physical space is the actual space in square footage that you’re working with. Visual space, is the perceived amount of space you have. Clutter and oversized furniture decrease visual space as well as physical space because it doesn’t allow light to pass through and around the space. When it comes to furniture choices, here are some helpful tips that increase visual space:
- Choose floating furniture or furniture with slender and tall legs. Anytime air and light can pass under furniture, it will increase visual space. Avoid heavy legless pieces that sit directly on the floor.
- Choose furniture that is glass, acrylic, Lucite or mirrored. These materials allow you to look right through them, taking up less visual space or reflect light around the room giving the impression of more space (the dresser had mirrored drawers to create this effect).
- BRING THE EYE UP! The string lights that hung from her wall, were moved to the ceiling to draw the eye upward, taking full advantage of her high ceilings to give the illusion of more space. The curtain rods were raised to just below the ceiling for the same effect. Temporary wallpaper was applied to the awkward jutting wall and her eclectic artwork was worked all the way up the wall. This not only brings the eye up, but creates an intention focal point in the room.
- Walls, and textiles were kept light and neutral to reflect sunlight and keep the room feeling bright. Furniture pieces in similar tones were chosen to almost blend into the walls themselves.
Here’s a last look at the changes made!